
Last updated September 20, 2026
Free on-site gate assessment - hinges, posts, and your LiftMaster or Nice gate operator checked before anything is quoted
The assessment is free and the quote is the invoice.


 Before
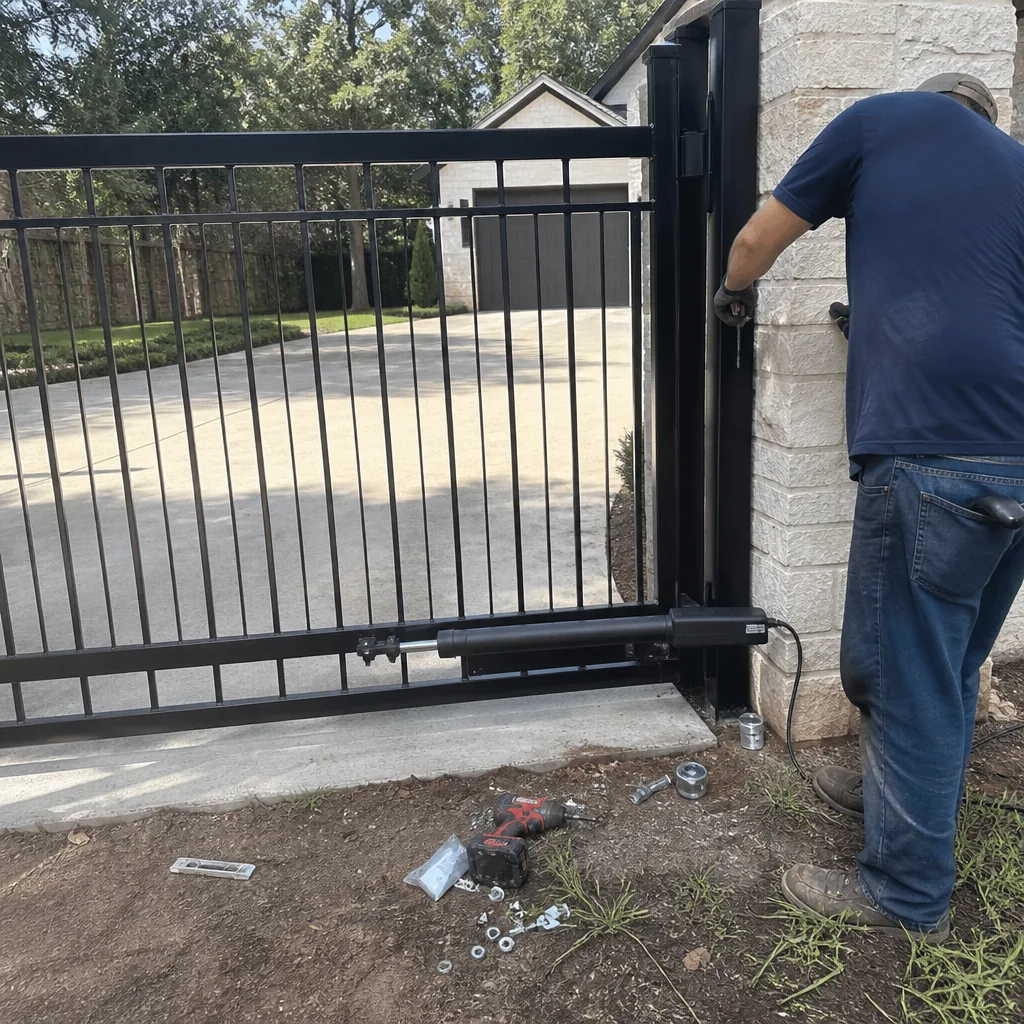 After
After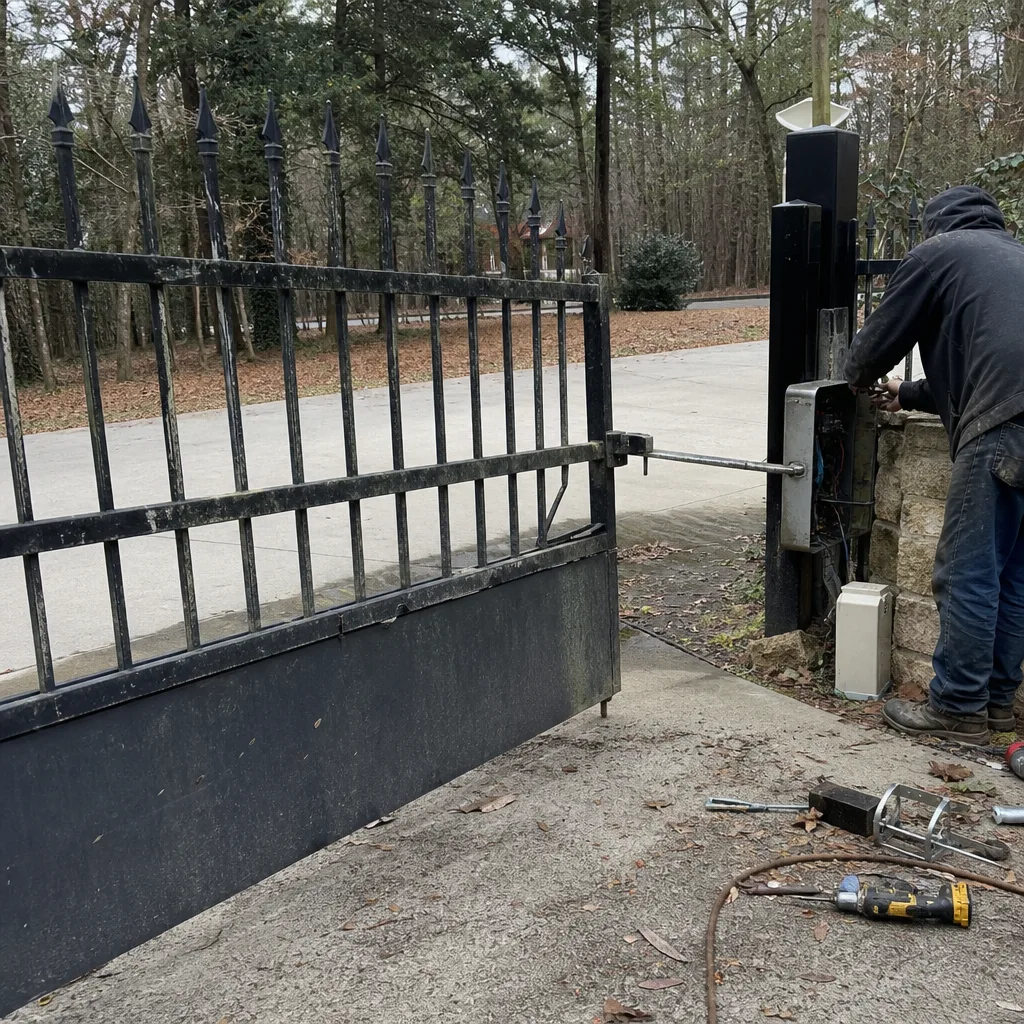 Before
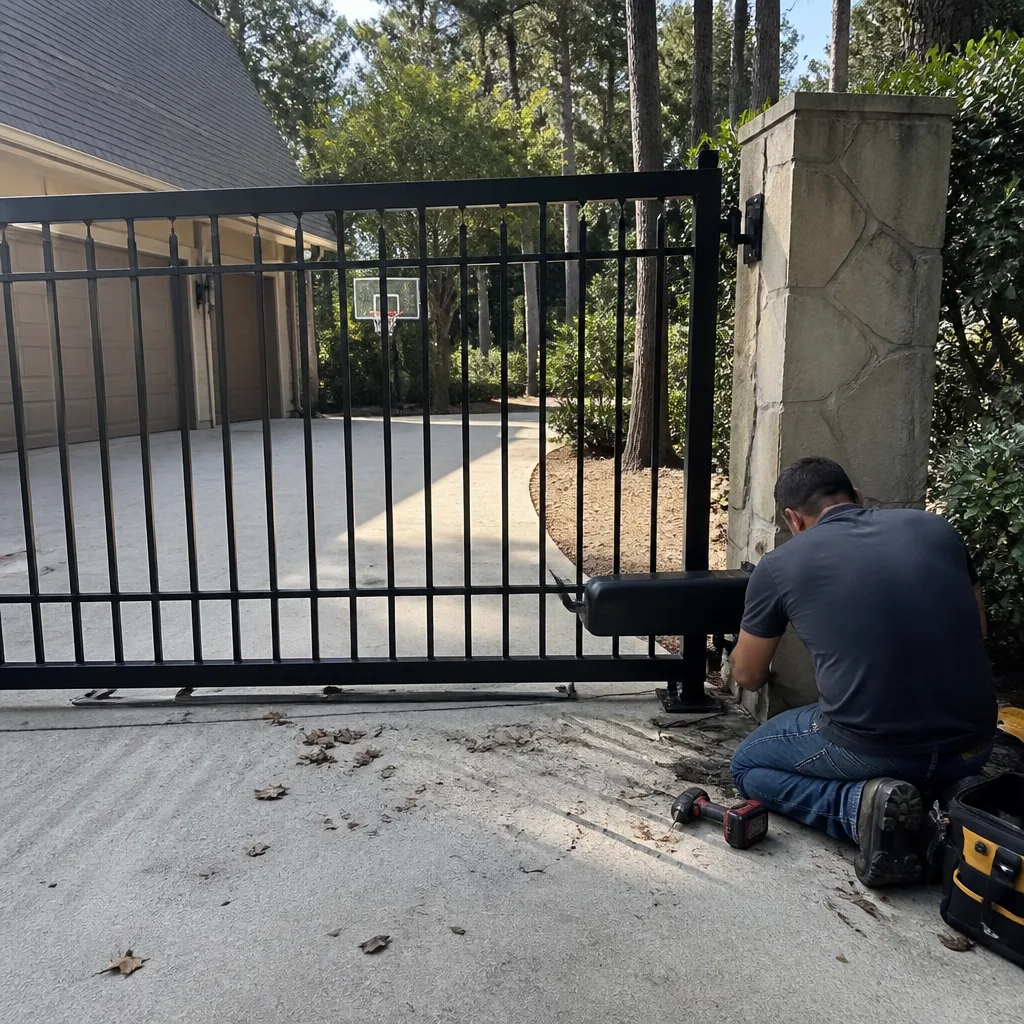 After
After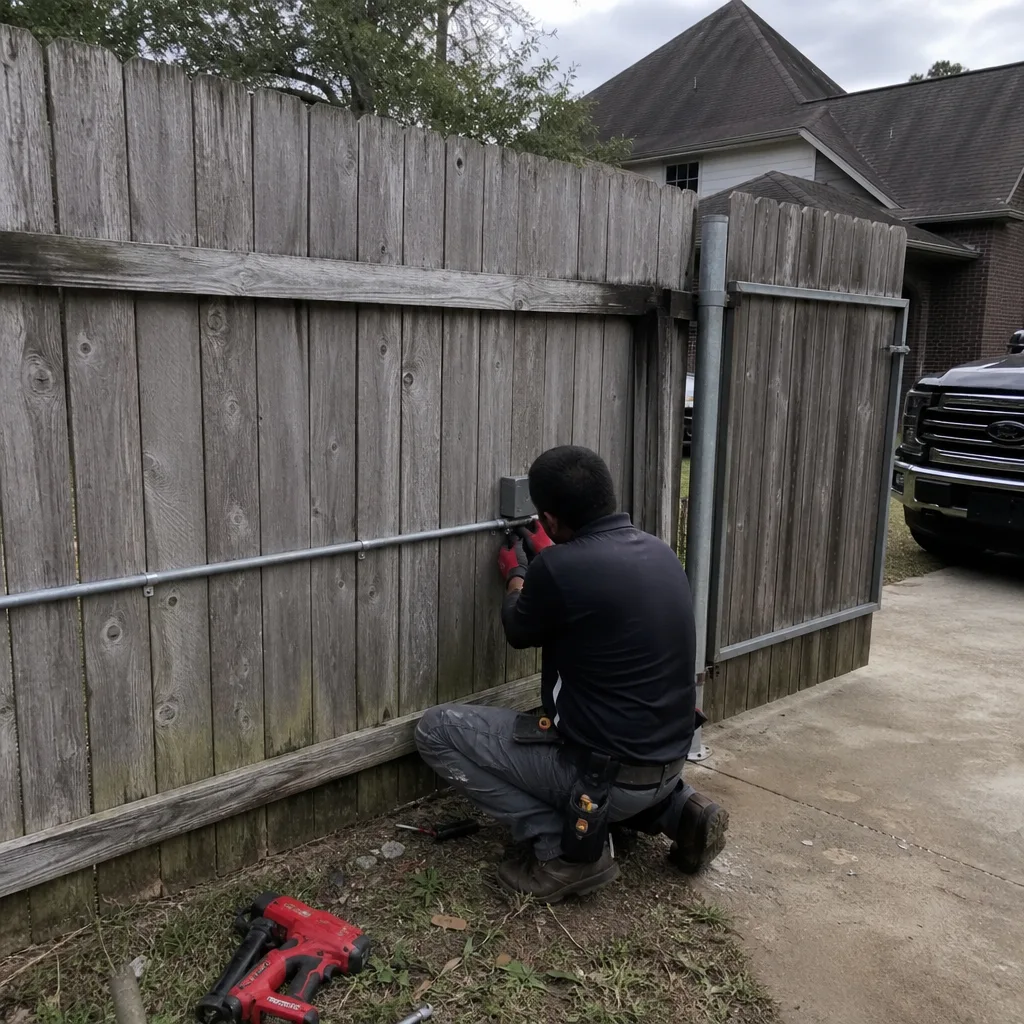 Before
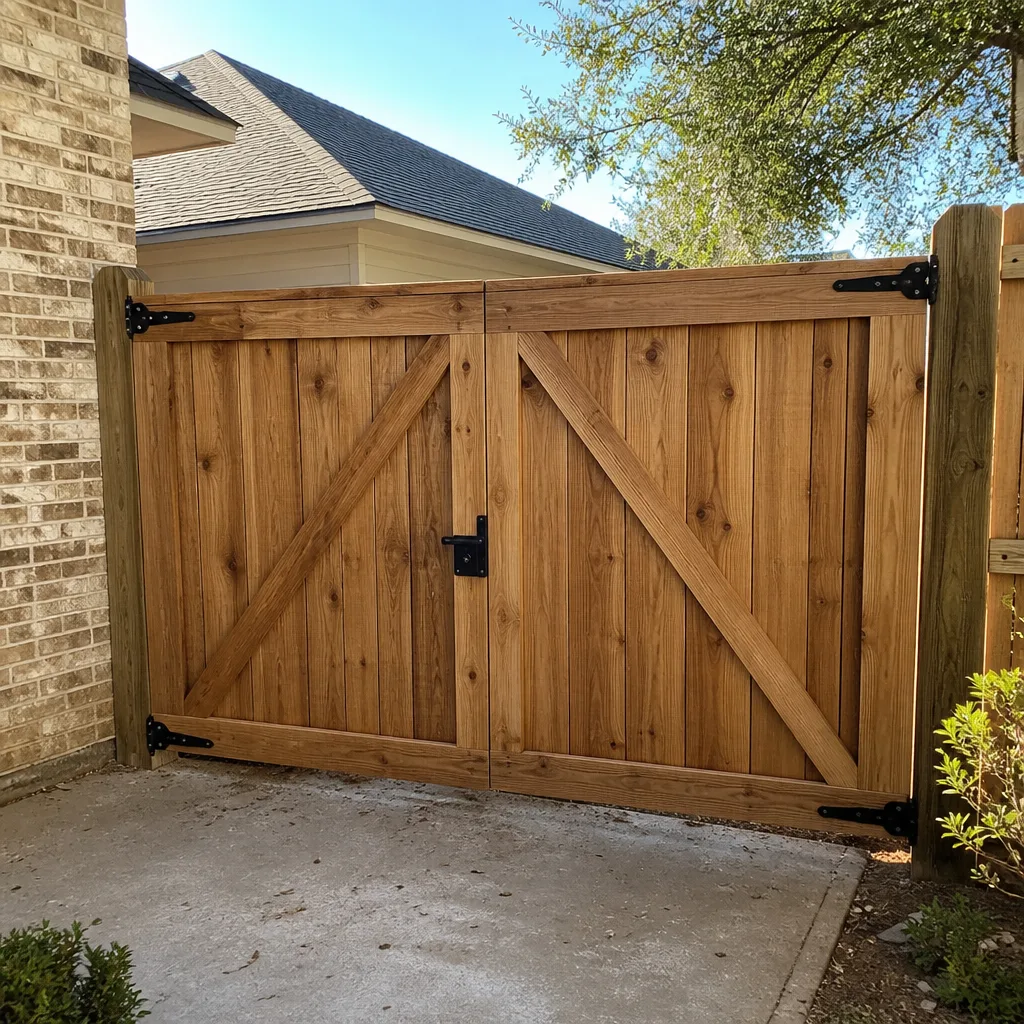 After
AfterDIY vs Professional Gate Repair: The Conroe Homeowner’s Decision Guide
Most gate repair failures in Conroe don’t start with a broken part. They start with a homeowner who loosened a bolt, turned a limit screw, or pulled a wire without recording where it was before the adjustment. The part wasn’t the problem. The missing reference point was. This guide walks through which gate repairs a homeowner can reasonably handle, which ones carry hidden documentation risks, and which ones require a technician with access to calibration data that simply isn’t published for residential equipment. You’ll learn the three-category task list most gate companies never share, the exact photos and readings to capture before touching anything, and how to verify a professional repair was actually done right.
Quick Answer
DIY gate repair in Conroe is appropriate for battery replacement, photo-eye cleaning and realignment, and basic track debris removal, provided you photograph and record the original positions before adjusting anything. Jobs requiring limit switch calibration, torque setting changes, control board diagnosis, or any work on gate springs, cables, or posts set in Conroe’s clay soil belong in the professional-only category, because a wrong guess on those systems creates a larger and more expensive failure than the original problem. If the repair involves wiring documentation or a calibration reading you don’t have access to, call (936) 297-5126 for a written price before anyone picks up a tool.
Table of Contents
- Understanding the Real Risk: Why Documentation Beats Skill
- DIY-Appropriate Gate Repairs: The Safe List
- DIY With Documentation Risk: The Caution List
- Professional-Only Repairs: The Hands-Off List
- The Pre-Adjustment Documentation Protocol
- Conroe-Specific Risks: Clay Soil, Heat, and Gate Posts
- How to Verify a Professional Repair Was Done Correctly
- When a Completed DIY Repair Should Still Be Documented
BeforeAfterUnderstanding the Real Risk: Why Documentation Beats Skill
The DIY-versus-professional decision for gate repair isn’t about whether you’re handy. It’s about whether the repair requires calibration data, wiring documentation, or torque specs that a homeowner doesn’t have access to. Those are the jobs where a guess creates a larger failure. A homeowner who replaces a Mighty Mule control board without photographing the original wiring positions has a fifty-fifty chance of getting it right, and if they get it wrong, the technician who eventually arrives has to reverse-engineer from a scrambled board instead of restoring from a known-good state.
We’ve rebuilt gates in Conroe neighborhoods from River Plantation to Woodland Hills where a homeowner’s well-intentioned adjustment turned a $200 limit switch reset into an $800 control board replacement. The original problem was minor. The undocumented attempt is what escalated the cost. This is why professional gate repair in Conroe follows a documentation-first process: record what exists, change one variable, test, and leave a written record of what was done. The homeowner who adopts the same discipline before attempting any DIY work dramatically reduces their risk.
The distinction isn’t elitism. It’s physics and paperwork. Some gate components fail in ways that are visible and intuitive. Others fail in ways that require a multimeter reading, a torque specification from a technical manual, or a firmware version check that isn’t printed anywhere on the equipment. Knowing which category your repair falls into is the entire decision.
DIY-Appropriate Gate Repairs: The Safe List
These are the repairs you can reasonably handle with basic tools and a camera. Each one shares a common trait: the original state is either irrelevant or easily restorable from the new part’s specifications. None of these require opening a sealed gear case, adjusting a spring, or interacting with a live control board beyond unplugging the power.
Battery replacement on solar or backup systems. On a Ghost Controls or Viking swing gate opener, the backup battery usually sits in a clearly labeled compartment. The old battery has a voltage and model number printed on the side. Replace it with the same specification. This is the safest gate repair a homeowner can do, and it’s the one most often put off until the gate stops working in the rain.
Photo-eye cleaning and lens clearing. The photo-eye, which is the infrared beam that stops the gate if something crosses its path, collects dust, pollen, and spider webs faster in Conroe’s summer heat than in almost any other climate. Cleaning the lens with a dry cloth and removing obstructions from the beam path is routine maintenance, not repair. The key is marking the photo-eye bracket position before loosening anything so you don’t accidentally misalign the beam while cleaning.
Track debris removal on sliding gates. Pine needles, gravel, and dirt accumulate in the V-track powering a slide gate. If the gate hesitates or grinds, clearing the track of debris is a straightforward fix. Use a stiff brush, a shop vacuum, and a flat tool to scrape caked mud from the track groove. Do not lubricate the track with WD-40 or grease; that attracts more debris and turns the groove into an abrasive paste.
Chain tension inspection and simple re-tensioning on older operators. On linear arm or chain-drive units, a visibly sagging chain is sometimes correctable with the tension adjustment bolt, provided you mark the original bolt position first and turn it no more than one-eighth of a turn at a time. We recommend against this for most homeowners because over-tensioning a chain wears the drive gear prematurely, but a careful person who photographs the starting position and makes minimal adjustment can manage it.
These four tasks represent the majority of simple gate issues we see in Conroe. If your problem matches one of them exactly, and you’re willing to document your starting point, you can proceed with reasonable confidence. For Gate Repair Maintenance Checklist for Conroe Homeowners and deeper guidance, see our related resources. Anything beyond this list moves you into the next category.
DIY With Documentation Risk: The Caution List
These repairs are physically possible for a homeowner to attempt, but they carry a specific failure mode: the original setting is lost the moment you turn a screw or pull a wire, and without that reference point, recovery requires professional equipment. This is the category that separates a careful homeowner from a lucky one.
Limit switch adjustment. The limit switch is the component that tells the gate motor where to stop. On a DoorKing or Elite swing operator, adjusting it usually means turning a small screw or sliding a magnetic stop. The problem is that residential gate manuals rarely provide the factory torque or travel-spec readings that a technician uses to set limits correctly. Adjusting a limit switch without recording the original setting before you turn the screw is not a repair, it’s a gamble, because if the new position is wrong, you’ve lost the only reference point that would have let you return to a known-good state. Every professional visit we perform includes a photo log of limit-switch positions before and after adjustment, and that photo is left with the homeowner.
Photo-eye re-alignment on a misaligned bracket. Cleaning the photo-eye lens is DIY-appropriate. Re-aligning a photo-eye bracket that has shifted is a documentation-risk task, because alignment requires establishing a working beam at a specific distance and height, and the tolerance is tight. A beam misaligned by two inches triggers a safety stop. A beam that’s slightly within tolerance but drifting will cause intermittent failures. Without knowing the manufacturer’s specified beam alignment height and the original bracket position, you’re guessing, and a guess on a safety component is a risk you don’t need to take.
Control board replacement on any brand. We’ve seen homeowners replace a gate motor or opener control board successfully, and we’ve seen the same job go wrong. The board itself unplugs and plugs in, but the wiring harness positions, dip switch settings, and learn button sequencing are not universal across brands. A Viking board wires differently than a Ghost Controls board. Without a before-photo of every terminal connection, the replacement becomes a re-wiring project rather than a board swap. If you do attempt this, photograph every wire, every connector, every switch position, and the board’s model number from at least three angles before unplugging anything.
Solenoid lock replacement. Magnetic locks and solenoid bolts on pedestrian gates sometimes fail electrically rather than mechanically. Replacing one involves low-voltage wiring and often a diode orientation that is polarity-sensitive. Get the polarity wrong and the new solenoid burns out the first time it cycles. The mechanical part of the job is easy; the electrical part is where the documentation risk lives.
Every task in this caution category shares a pattern: the part is accessible, but the correct position or orientation is not printed on the part. It’s printed in a technical manual you don’t have, or it’s encoded in a diagnostic sequence you’ve never run. When you lack the reference data, the theoretical money saved is a fraction of the cost of correcting a wrong adjustment.
Professional-Only Repairs: The Hands-Off List
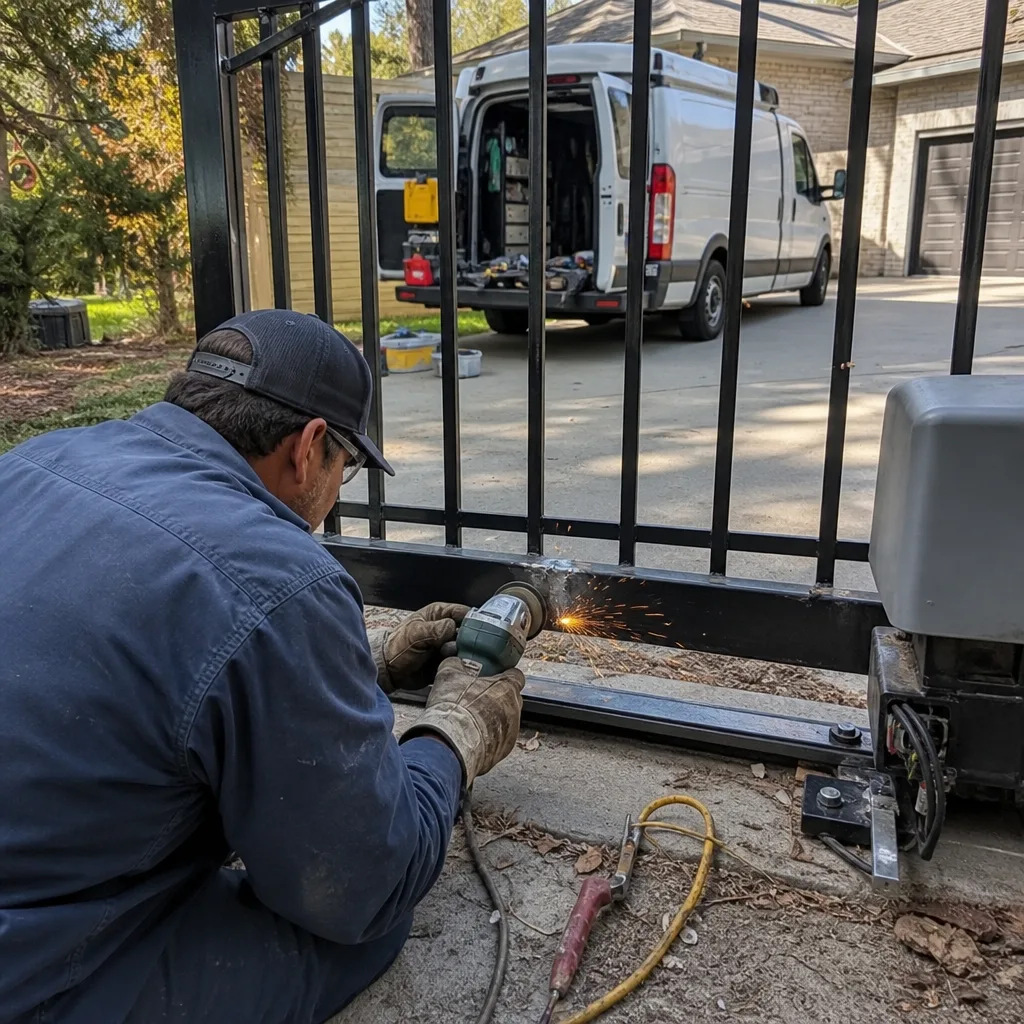
These are the gate repairs a homeowner should never attempt. Each one involves a genuine safety risk, a need for proprietary calibration equipment, or a failure mode that can turn a contained problem into a structural one. We’re including the specific reason for each, because the reason matters more than the label.
Gate spring replacement and tension adjustment. A residential swing gate spring operates under tension, and when it fails, it releases stored energy without warning. Adjusting a spring without the correct retention tool and tension specification is dangerous. This is the gate equivalent of a garage door spring: a trained professional uses a specific procedure and rated tooling to contain the spring while adjusting it. Do not guess at this one. Do not improvise a tool. The risk of serious injury is real and well documented across the trade.
Cable replacement on slide gates. The cables that run along a slide gate frame carry the full weight of the gate leaf. A frayed cable is a warning sign, and replacing it requires supporting the gate properly before removing tension. A homeowner who cuts a cable without supporting the leaf risks a gate that falls or jams catastrophically. This is not a weekend project; it’s a structural repair.
Gate post re-setting or re-leveling in Conroe clay soil. This one is specific to our area. Conroe sits on expansive clay soil that swells when wet and shrinks when dry, which means gate posts shift seasonally. A gate that sags in August may not be sagging because of a hinge problem; it may be sagging because the post moved. Re-setting a post in clay requires drilling below the frost and moisture-change line, re-pouring the base at the correct depth, and often adding concrete piers or helical supports. A homeowner who simply shims the hinge or adjusts the gate leaf is solving the wrong problem, and the gate will drift again within months.
Control board diagnosis and replacement on any major brand. When a DoorKing or Elite control board fails, the failure is rarely visible. Diagnosis requires a multimeter, a continuity test, and often a call to the manufacturer’s technical line with the firmware version and error-code history. A homeowner testing a live board without understanding the low-voltage circuits risks frying the new board, the wiring harness, or both. This is also the repair where the documentation habit matters most: a technician who records the original terminal positions, dip switch settings, and firmware revision can swap a board in under two hours. A technician who doesn’t becomes a detective, and you pay for the detective work.
Any repair requiring a torque wrench and a torque specification. Gate hinge bolts, drive gear bolts, and certain motor mount bolts require specific torque values that are listed in the manufacturer’s installation manual, not on the bolt itself. Over-torqued bolts stretch and fail; under-torqued bolts back out. Without the torque spec, you’re guessing, and a bolt that fails on a moving gate is a safety hazard.
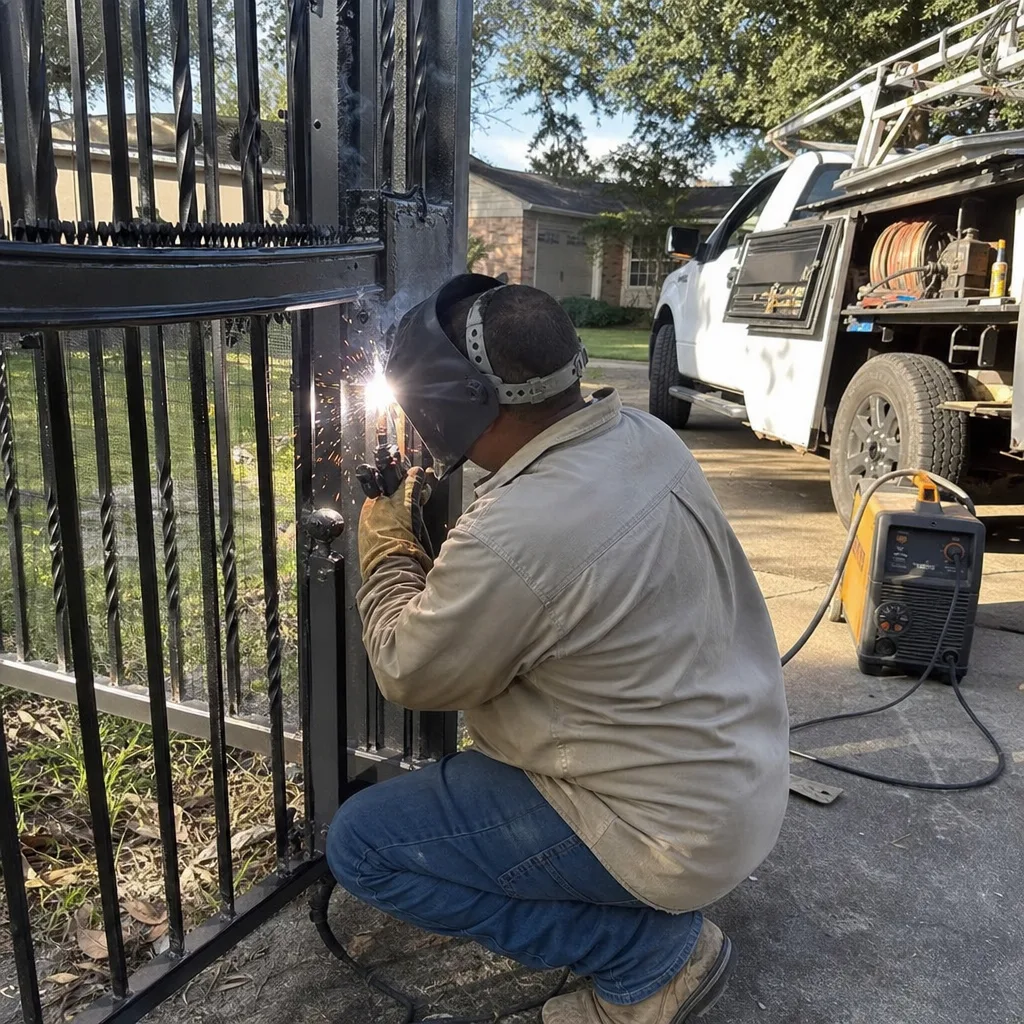
Welding repairs on iron or steel gate frames. Conroe has a high number of wrought-iron and steel driveway gates. When a weld fails, the repair requires proper surface preparation, the correct rod and amperage, and often a portable welder on site. A bad weld on a gate that cycles hundreds of times a month will fail again, and the failure point may be worse than the original crack.
The pattern across this list is consistent: each job requires either a specification the homeowner doesn’t have, a tool they don’t own, or a controlled release of stored energy they can’t safely manage. The cost of a professional gate installation or repair pales next to the cost of recovering from a failed amateur attempt on one of these systems.
The Pre-Adjustment Documentation Protocol
If you decide to attempt a DIY-appropriate or documentation-risk repair, the single most valuable thing you can do is create a reversible record before you change anything. This is the exact protocol our technicians follow on every Vance Gate Repair Conroe visit, and it’s the same discipline we recommend to any homeowner before touching a gate component. For more guides & resources on gate care, explore our blog.
Step 1: Photograph everything from three angles. Before loosening a screw, pulling a wire, or lifting a cover, photograph the component from the front, from directly above, and from the side that shows wire connections or adjustment points. Take more photos than you think you need. The phone camera is free.
Step 2: Photograph any printed information. Every control board, motor housing, and sensor has a model number, a serial number, and often a firmware revision printed on a label. Photograph that label before doing anything else. When the replacement board arrives and the dip switch positions don’t match, that label is the difference between a parts lookup and a guessing game.
Step 3: Record specific settings in writing. If the component has an adjustment screw, a limit switch, or a tension bolt, write down its current position before you touch it. Use a fine-tip marker to make a reference mark on the housing and the moving part if possible. The mark lets you return to the exact original position if your adjustment makes things worse.
Step 4: Disconnect power and wait. Before opening any housing that contains wiring, disconnect the gate opener from its power source. If it’s a battery backup system, remove the battery. Wait at least sixty seconds for capacitors to discharge. Do not skip this step on a control board replacement.
Step 5: Change one variable at a time and test. Adjust one screw, one bolt, or one wire position at a time, and then test the gate through a full open-close cycle before making another change. Multiple simultaneous adjustments make it impossible to know which change fixed the problem and which one introduced a new one.
Step 6: Photograph the finished state and write down what you did. This step protects you if the repair fails later and a professional has to diagnose it. A photo of the adjusted limit switch plus a note that says “turned travel screw 1/4 turn clockwise on March 12” gives the next technician a starting point. Without it, they start from zero, and you pay for the rediscovery.
This protocol is the written price’s cousin. Just as a written price before work starts prevents a surprise invoice, a documented starting position before a DIY attempt prevents an unrecoverable mistake. Both are forms of protection, and both cost less than the alternative.
Conroe-Specific Risks: Clay Soil, Heat, and Gate Posts
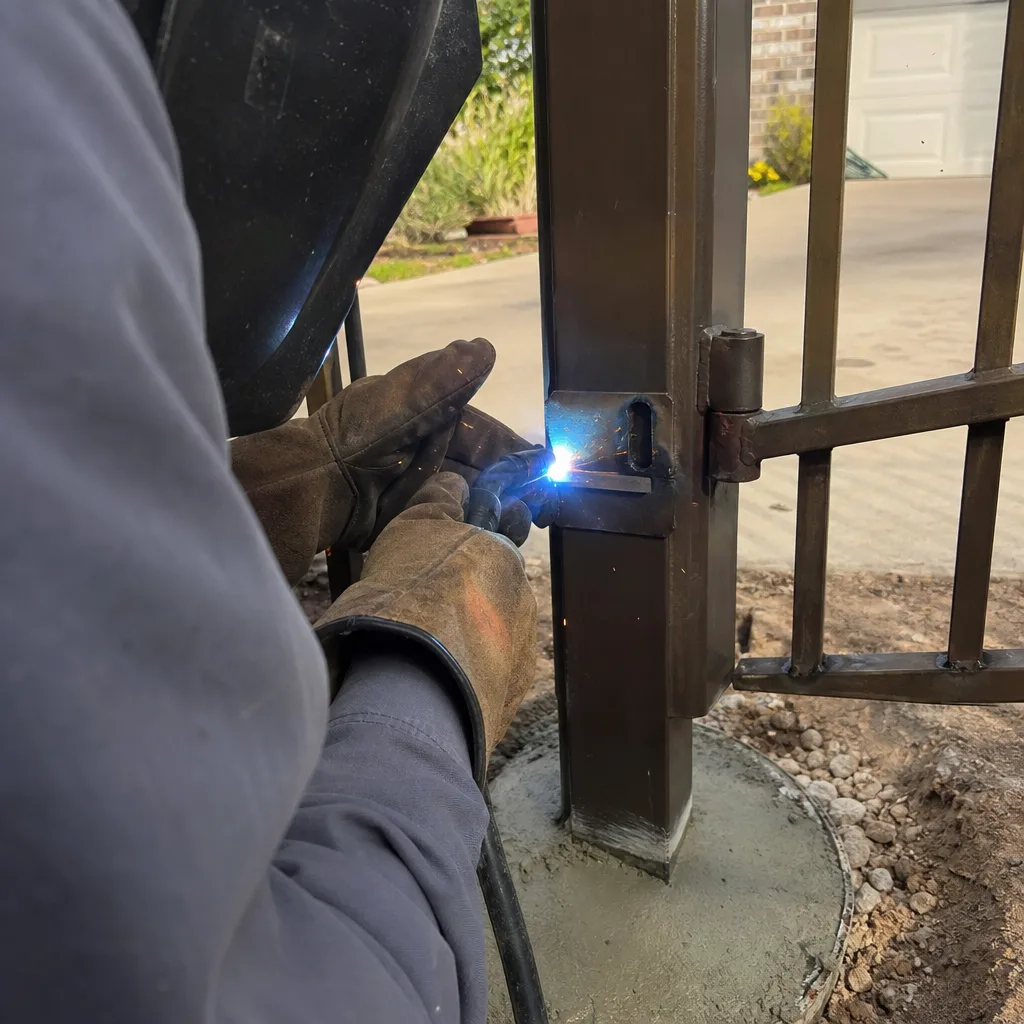
Conroe homeowners face gate repair challenges that a homeowner in Dallas or Austin doesn’t. The first is expansive clay soil. Conroe sits on the Gulf Coast Plain, and much of the residential land in Montgomery County has a high clay content in the top several feet. Clay absorbs water and swells; it dries and contracts. A gate post set in this soil moves seasonally, which means a gate that was perfectly aligned in March may bind in September. The fix isn’t always mechanical. If the post has shifted, the correct repair is re-setting the post at a lower depth with proper backfill, not adjusting the hinge plates to compensate for the drift.
The second risk is heat. Summer temperatures in Conroe regularly exceed 95 degrees for weeks at a time, and the control boards inside metal gate operator housings can reach 130 degrees or more. Heat accelerates capacitor wear, weakens solder joints, and shortens battery life. A homeowner who replaces a capacitor without matching the voltage rating and temperature tolerance is installing a part that will fail again within a season. We routinely replace heat-stressed components on gates in neighborhoods like Teaswood and Grand Central Park, and the pattern is consistent: the board that failed in August was usually rated for 85 degrees Celsius, not 105, and the replacement needs the higher rating to survive a Conroe summer.
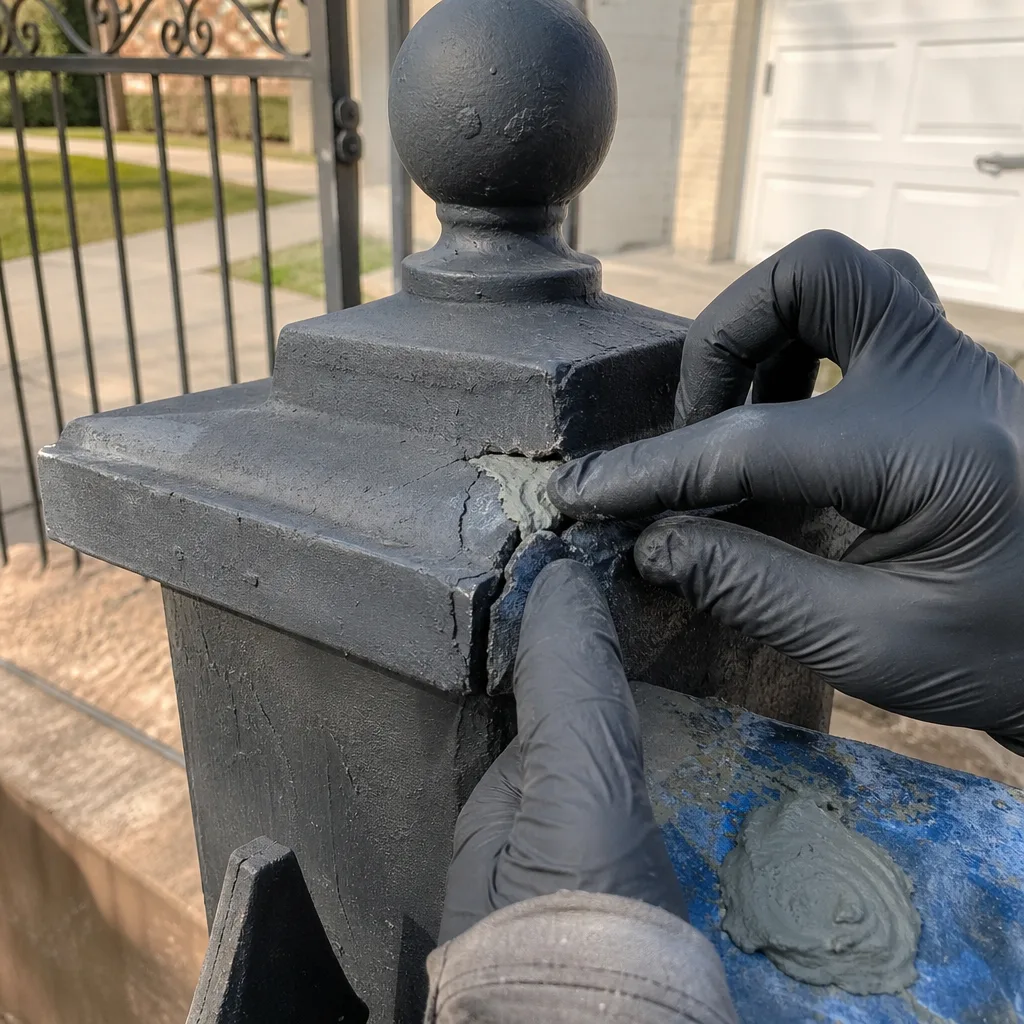
The third risk is humidity and corrosion. Conroe’s humidity averages over 70 percent most of the year, and steel gate hardware rusts faster here than in drier parts of Texas. A hinge that looks structurally sound may have internal corrosion that only becomes visible when the gate leaf is removed. Surface rust removal and repainting is a reasonable DIY task. Replacing a corroded hinge pin or weld is not, because the surrounding metal may be weakened beyond what’s visible.
Understanding these local factors matters because they change the diagnosis. A gate that sags in Conroe is more likely to have a post issue than the same gate in a limestone-soil region. A control board that fails in August is more likely to be a heat-rating issue than a wiring fault. When a homeowner attempts a fix without accounting for these local conditions, they often solve the wrong problem and avoid calling a professional until the gate has failed completely. A Vance Gate Repair Conroe technician starts every diagnosis with the local environment in mind, because in this trade, the soil and the summer are as much a part of the repair as the motor.
How to Verify a Professional Repair Was Done Correctly
Hiring a professional doesn’t eliminate your responsibility to verify the work. A gate repair that wasn’t completed correctly may function for weeks before failing again, and by then the warranty period or the documenting technician is gone. Here’s the verification checklist we recommend every Conroe homeowner use before signing off on a gate repair invoice.
Run a full open-close cycle test, slowly. Put the gate through at least five complete cycles while watching and listening. The gate should move smoothly through the entire travel without hesitation, grinding, or a visible change in speed. Listen for a consistent motor pitch. A motor that races, surges, or changes tone mid-cycle may have a limit issue or a mechanical bind that the technician missed.
Test the safety features on both sides of the gate. With the gate closing, block the photo-eye beam with your hand or a piece of cardboard. The gate should stop and reverse immediately. Do this on both the inside and outside photo-eyes. If the gate doesn’t reverse, the safety system is not functioning, and that’s a non-negotiable repair item regardless of what any technician tells you.
Ask for the specific readings. A professional gate repair should produce specific measurements: the limit switch positions, the motor amp draw, the photo-eye alignment height, and the torque settings if applicable. If your technician can’t or won’t provide these numbers, ask why. We leave these readings in writing with every customer as part of the documented photo record, because a gate repair that produces no numbers is a repair that can’t be verified.
Request a photo record of what was changed. If the technician replaced a board, a spring, a photo-eye, or any component, they should be able to show you photos of the old part in place, the new part installed, and the settings they adjusted. A technician who refuses to provide photos is telling you something about their process. Photographs are the evidence of a repair, and a company that doesn’t document its work is asking you to trust a handshake on a piece of machinery that weighs hundreds of pounds and moves under power.
Confirm the warranty terms in writing. Every repair should come with a written description of what was done, the part numbers installed, and the warranty period. If the technician can’t produce a written record, you have no recourse when the repair fails in three weeks. The written record is not a formality; it’s the only proof you have that the work happened and what it covered.
Vance Gate Repair Conroe operates under The Haven Standard, which includes a written price before work starts and a documented photo record on every visit. Under Haven Standard Clause 4 (Evidence on every job), every customer receives a photo log of what was found, what was adjusted, and what was installed. If another company can’t offer the same, that’s a signal worth weighing in your decision.
When a Completed DIY Repair Should Still Be Documented
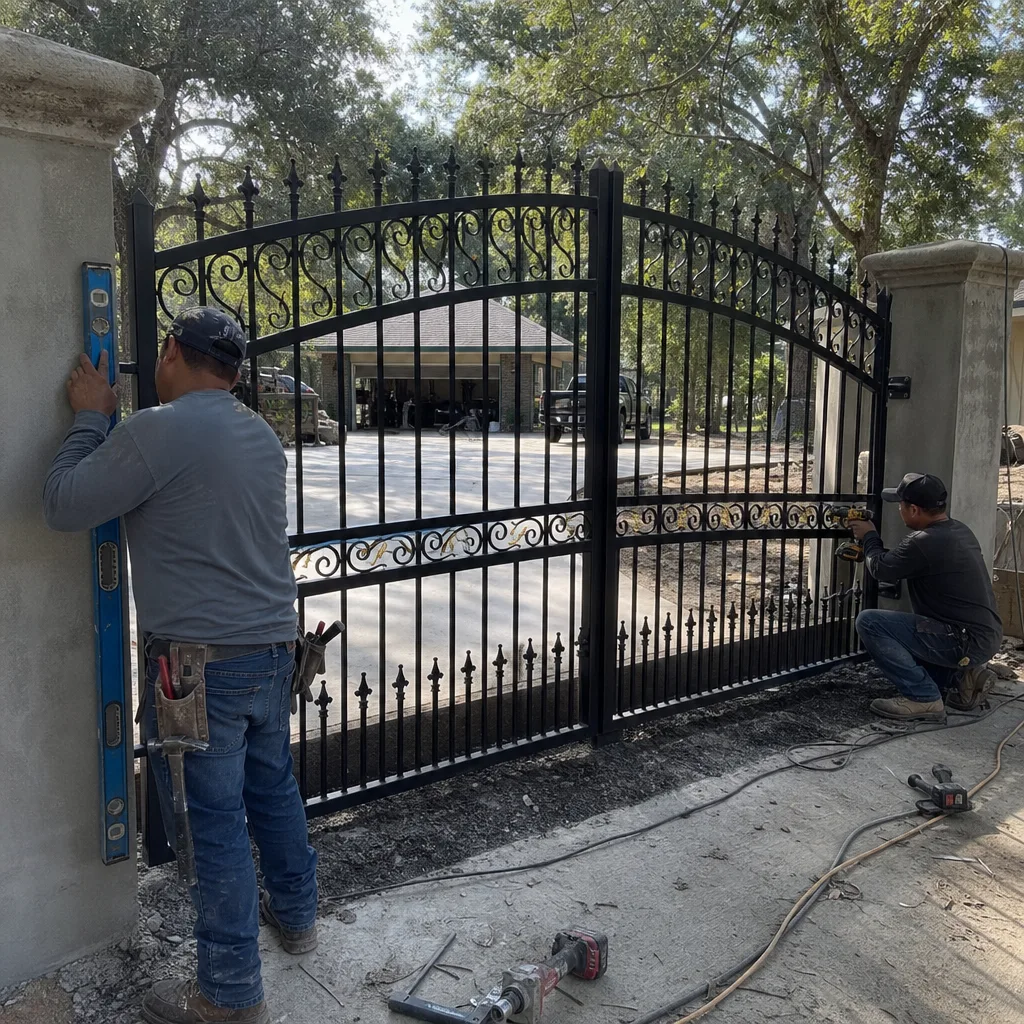
Even a successful DIY repair has a shelf life. The battery you replaced this year will fail again. The photo-eye you cleaned will collect dust again. And when those components fail, the next person to diagnose the gate, whether that’s you in three years or the technician who eventually replaces the opener, benefits enormously from knowing what was done before. This is where a professional documentation visit comes in, and it’s one of the most underused services in the gate trade.
A documentation visit is not a repair. It’s an inspection and a record. After you’ve completed a DIY repair, a professional technician can inspect the work, verify the settings, and create a service record that documents the current state of every adjustable component on the gate. That record serves two purposes. First, it gives you a baseline: if the gate behaves differently in six months, you have a reference point to compare against. Second, it protects you at resale. When you sell a Conroe home, the buyer’s inspector will look at the gate opener and note its condition. A documented service record that shows the gate was maintained and adjusted to manufacturer specifications is a tangible asset in the negotiation, and in a competitive market like Montgomery County, small documentation advantages can shift a deal.
We recommend a documentation visit after any DIY repair that involved limit switches, photo-eye brackets, control board wiring, or chain tension. The inspection typically takes under an hour, and the written record it produces is permanent. The cost of a documentation visit is a fraction of the cost of a full diagnostic call when the gate fails without a record, which is the normal outcome for undocumented DIY work.
The same discipline applies to professional repairs. If another company repairs your gate and you’re not sure the work was done correctly, bring the paperwork to us for a free second opinion. We’ll review the written estimate or invoice, inspect the work, and tell you whether the repair matches what was documented. There’s no charge for this service, because a homeowner who has a written record is a homeowner who can hold any repair company accountable, and accountability is the entire point of the Haven Standard.
Common Mistakes to Avoid
- Turning a limit screw without marking the original position first. This is the single most expensive homeowner mistake in gate repair. The limit switch controls motor travel, and a wrong position can overrun the travel stop, damage the gear, or leave the gate partially open. Mark the position, photograph it, and adjust in quarter-turn increments.
- Lubricating a gate track with grease or WD-40. Conroe’s dust and pine needles mix with wet lubricants to create an abrasive paste that accelerates track wear. Use a dry silicone spray sparingly on the track edges only, or better yet, keep the track clean and leave lubrication to the hinge points.
- Replacing a control board without photographing the terminal wiring. The board has power terminals, motor terminals, accessory terminals, and safety terminals, and they are not interchangeable. A mis-wired board can fry the board, the motor, or both. Photograph everything before unplugging anything.
- Attempting a spring adjustment with improvised tools. Gate springs store enough energy to break a hand or knock out teeth. The correct retention tools cost more than the professional spring service, and a homemade substitute doesn’t contain the spring if it slips. This is the one repair where a wrong guess has immediate physical consequences.
- Ignoring a shifted post and only adjusting the gate leaf. In Conroe clay soil, a sagging gate is often a post problem, not a hinge problem. Shimming the hinge or adjusting the leaf treats the symptom, and the gate will drift again within months. A professional can measure the post lean and tell you whether re-setting is required.
- Replacing a battery without checking the charging system. A dead backup battery is sometimes a dead battery. It’s also sometimes a failed charging board that killed the battery and will kill the replacement within weeks. If the new battery dies quickly, the problem wasn’t the battery.
- Skipping the photo-eye safety test after any repair. The photo-eye is the primary safety mechanism on a powered gate. A functional gate that fails the safety test is a hazard, not a success. Always block the beam and confirm reversal before declaring any gate repair complete.
When to Call a Professional
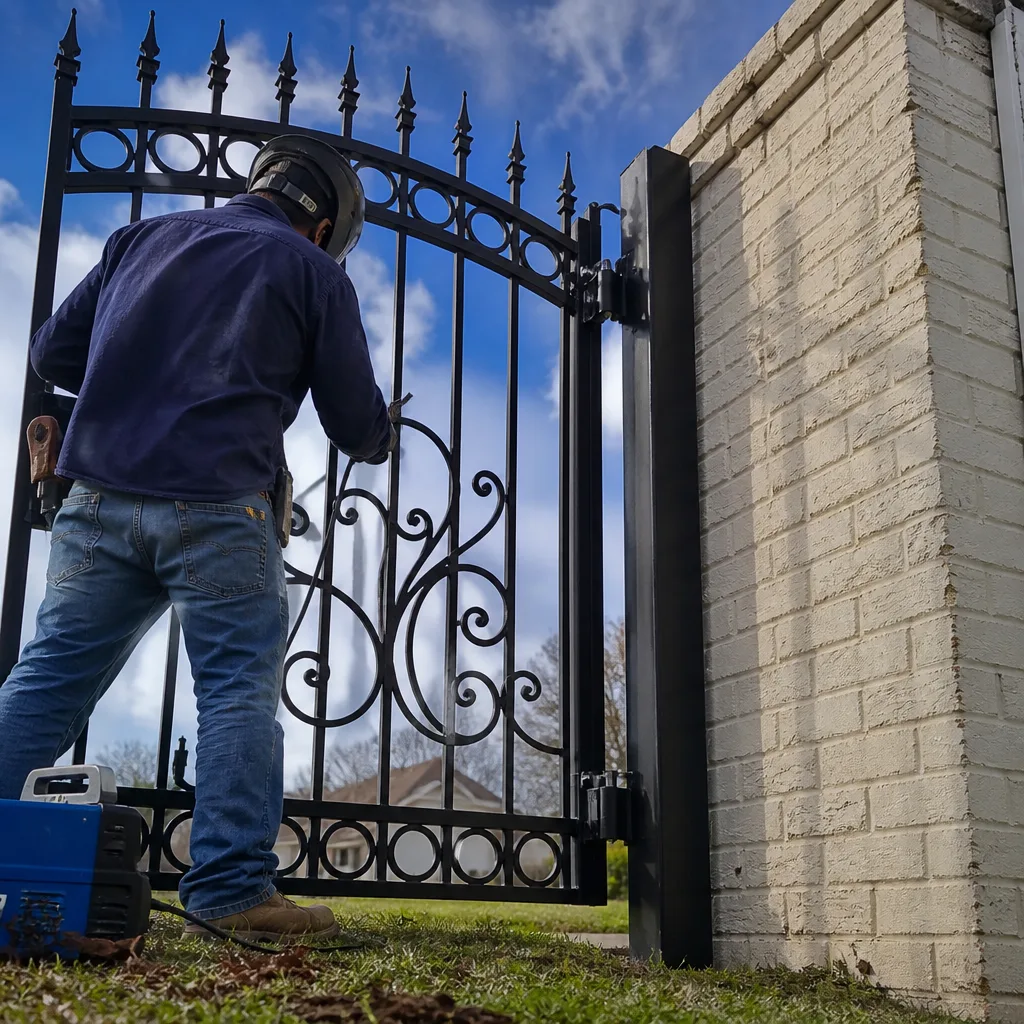
Call a professional when the repair involves a limit switch, a spring, a cable, a control board, a gate post, or any component whose correct position or tension is specified in a technical manual you don’t have. Call a professional when the gate has failed in a way that prevents you from securing the property, because a gate stuck open is a security and liability issue. Call a professional when your DIY attempt has made the problem worse and you no longer have a reference point for the original setting. And call a professional when you need a written record of the gate’s condition for insurance or resale purposes. Vance Gate Repair Conroe offers free estimates in Conroe and the surrounding Montgomery County area. Call (936) 297-5126 and a live person will answer, day or night. You’ll get a written price before any work begins, and a documented photo record when the technician leaves.
Frequently Asked Questions
Most residential gate repairs in Conroe run between $180 and $850 depending on the component, with battery replacements and photo-eye cleaning at the low end, limit switch resets and board diagnostics in the middle, and spring replacement or post re-setting at the high end. A written estimate from Vance Gate Repair Conroe fixes the price before work starts, so the number you see is the number you pay. Call (936) 297-5126 for an exact quote on your specific gate.
The fixable causes, like a tripped breaker, a dead battery, or a blocked photo-eye, are DIY-appropriate if you document your starting point. The more common causes in Conroe, like a failed control board, a misaligned limit switch, or a heat-stressed capacitor, require diagnostic equipment and calibration data that a homeowner doesn’t have access to. If the simple checks don’t solve it, call for a professional diagnosis.
Battery replacements and photo-eye realignments are typically done in under an hour. Limit switch adjustments and small parts replacements run two to three hours. Control board replacements and spring work can take half a day. Post re-setting in Conroe clay soil may require concrete work and can span two visits. Your written estimate includes the expected time frame before work begins.
Yes, a full gate installation in Conroe includes the power run from the electrical source to the operator, the conduit trenching, the safety edge sensors, and the photo-eye installation. Every installation is documented with a wiring diagram and a photo record left with the homeowner, so no future technician has to guess where a wire runs.
A complete gate opener installation includes the motor and operator, the control board, the photo-eyes, the safety edges, the battery backup, and all wiring run to code. The written price covers the equipment, the labor, and the documentation. Before any work starts, you’ll see a line-item scope so you know exactly what is and isn’t included.
Yes, a live person answers the phone 24 hours a day at Vance Gate Repair Conroe, and we dispatch same-day for urgent gate failures in the Conroe area. A gate stuck open is a security issue, and we treat it that way. Call (936) 297-5126 and you’ll talk to a person, not a voicemail system.
The Bottom Line
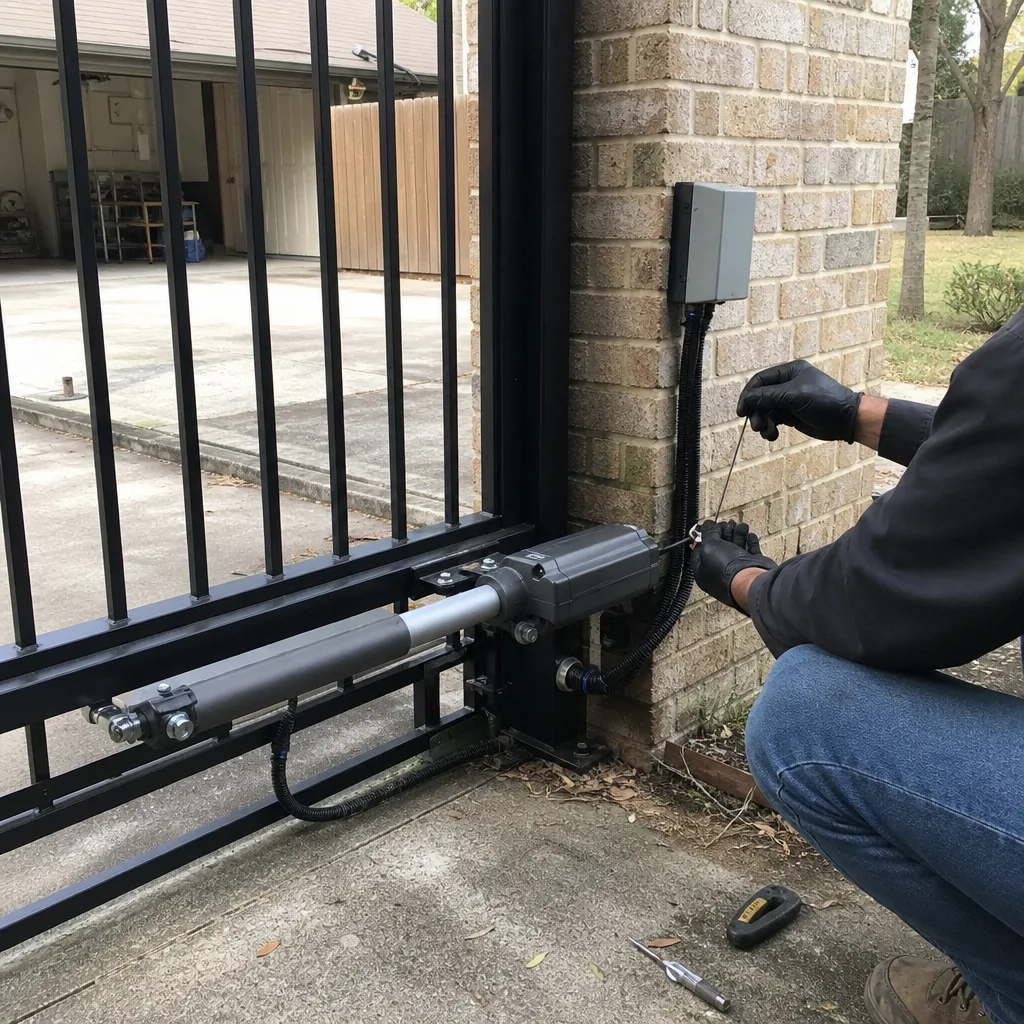
The DIY-versus-professional gate repair decision comes down to data, not skill. If you can replace the part without touching a calibration setting, a spring, or a wiring harness, and you document your starting position first, DIY is a reasonable choice. If the repair requires a torque spec, a limit switch reading, a board wiring diagram, or a controlled release of stored energy, a professional is the only responsible option. In Conroe, the soil, the heat, and the humidity add failure modes that a generic online tutorial doesn’t cover. When in doubt, call (936) 297-5126. You’ll get a written price before anyone picks up a tool, and a documented record when the work is done.
Written by Adrian Vance, Owner at Vance Gate Repair Conroe, serving Conroe since 2014.